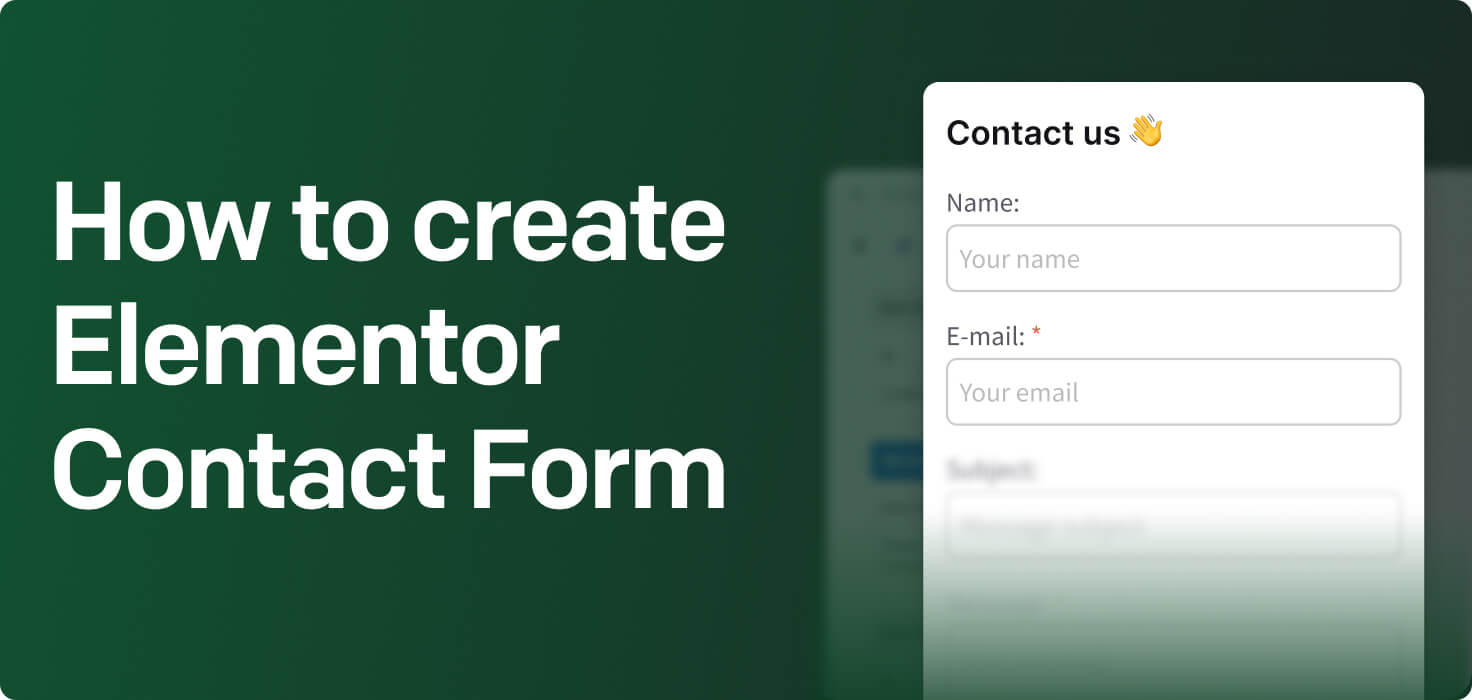
Elementor Contact Form is a popular tool for building website contact forms using the Elementor page builder plugin. Users can easily create custom contact forms using drag-and-drop functionality and various templates. Examples of forms that can be made with Elementor Contact Form include primary contact forms, survey forms, registration forms, and more.
What is Elementor Contact Form?
Elementor Contact Form is a feature provided by the Elementor page builder plugin that allows users to create and customize contact forms on their WordPress websites easily. It will enable users to collect contact information from visitors, such as name, email address, and message, through a form that can be placed on any website page. The Elementor Contact Form can be customized with different fields, designs, and styles to match the overall look and feel of the website.
When to use Elementor Contact Form?
-
To collect leads and inquiries from potential customers on a landing page.
Creating an Elementor Contact Form is essential for any landing page as it allows businesses to collect leads and inquiries from potential customers. By incorporating a user-friendly form, you can streamline obtaining valuable information from visitors interested in your products or services.
-
To allow visitors to request more information or schedule appointments directly from the landing page.
Elementor Contact Form is an essential tool for any website. Visitors can quickly reach out, request more information, or schedule appointments directly from the landing page. Incorporating a contact form created with Elementor can improve user experience, generate leads, and ultimately increase conversions.
-
To gather feedback or comments from visitors on a landing page.
Creating an Elementor Contact Form is essential for gathering valuable feedback and comments from visitors on your landing page. It allows you to engage with your audience, address any inquiries they may have, and ultimately improve the user experience on your website.
The benefits of using Elementor Contact Form on website
Using Elementor Contact Form on a website has several benefits. Firstly, it allows users to easily create and customize a professional-looking contact form without the need for any coding knowledge. It can save time and resources and ensure that the form fits seamlessly with the website's overall design. Additionally, Elementor Contact Form offers features such as email notifications, spam protection, and integration with popular email marketing platforms, making it a reliable and efficient solution for collecting and managing user inquiries.
How to build Elementor Contact Form
Elementor is a famous drag-and-drop page builder for WordPress that allows users to create custom layouts and designs for their websites easily. One of the features that Elementor offers is the ability to create contact forms using its built-in form widget. Below are step-by-step instructions on how to build an Elementor contact form:
- Install and Activate Elementor: First, ensure you have Elementor installed and activated on your WordPress website. You can download and install Elementor from the WordPress repository or your website's plugin dashboard.
- Create a New Page or Edit an Existing Page: Once Elementor is installed and activated, create a new page or edit an existing page where you want to add the contact form. Click the 'Edit with Elementor' button to launch the Elementor editor.
- Add a Form Widget: In the Elementor editor, find the Form widget in the widgets panel on the left-hand side. Drag and drop the Form widget onto the page where you want the contact form to appear.
- Customize the Form Fields: Click on the form widget to select it, then click the 'Edit Form' button to customize the form fields. You can add, remove, or rearrange the form fields as needed. You can also customize each form field's labels, placeholders, and required fields.
- Configure the Form Settings: In the Form widget settings panel, you can configure various settings for the contact form. It includes the email address where form submissions will be sent, the subject line of the email, and the confirmation message that users will see after submitting the form.
- Configure Form Actions: Under the form settings, you can also configure form actions, such as redirecting users to a thank you page after submitting the form or displaying a confirmation message without redirecting.
- Style the Form: Once you have customized the form fields and settings, you can style the contact form to match the design of your website. Using the Elementor style settings, you can change the font, color, size, and spacing of the form fields and submit button.
- Save and Publish: After customizing and styling the contact form, click the 'Update' button to save your changes. You can then preview the form by clicking the 'Preview' button and publish the page by clicking the 'Publish' button.
Example form fields in Elementor Contact Form
- Name
- Email address
- Phone number
- Subject
- Message
- Company name
- Website
- Address
- Date
- Time

Meet HelpDesk Contact Form
Introducing Contact Form in HelpDesk — the easiest and most efficient way to gather valuable information from your website visitors. Contact Form is a simple yet powerful tool for collecting important details from potential customers or clients. With customizable fields and an easy-to-use interface, you can tailor the form to meet your needs and collect the information that matters most to your business. Say goodbye to missed opportunities and hello to increased lead generation with Contact Form in HelpDesk. Try it out today and start maximizing your website's potential.
How to transition smoothly to a HelpDesk tool
Transitioning to a new helpdesk tool can be challenging, but with careful planning and execution, you can ensure a smooth migration of your tickets and data.
Migrate for free to HelpDesk ticketing system
We're here to support you during the entire migration process, offering information about any related costs and, if possible, covering them for you.

