HelpDesk and GitHub are amazing tools that make life easier for the support and development teams. By connecting these platforms with Zapier, you can save time, avoid repetitive tasks, and keep everything running smoothly between your support and dev teams.
Why integrate HelpDesk with GitHub?
Integrating HelpDesk with GitHub allows you to:
- Automatically create GitHub issues from HelpDesk tickets.
- Keep your development team informed about bugs and feature requests.
- Streamline communication between support and development teams.
- Save time by reducing manual data entry.
What you need
To set up the integration, you’ll need:
- HelpDesk account
- GitHub account
- Zapier account
- Admin access to all the above platforms to configure the integration.
Setting up the integration with Zapier
Follow these steps to connect HelpDesk and GitHub using Zapier:
1. Sign in to Zapier
Log in to your Zapier account or create a new one at Zapier.com.
2. Create a new Zap
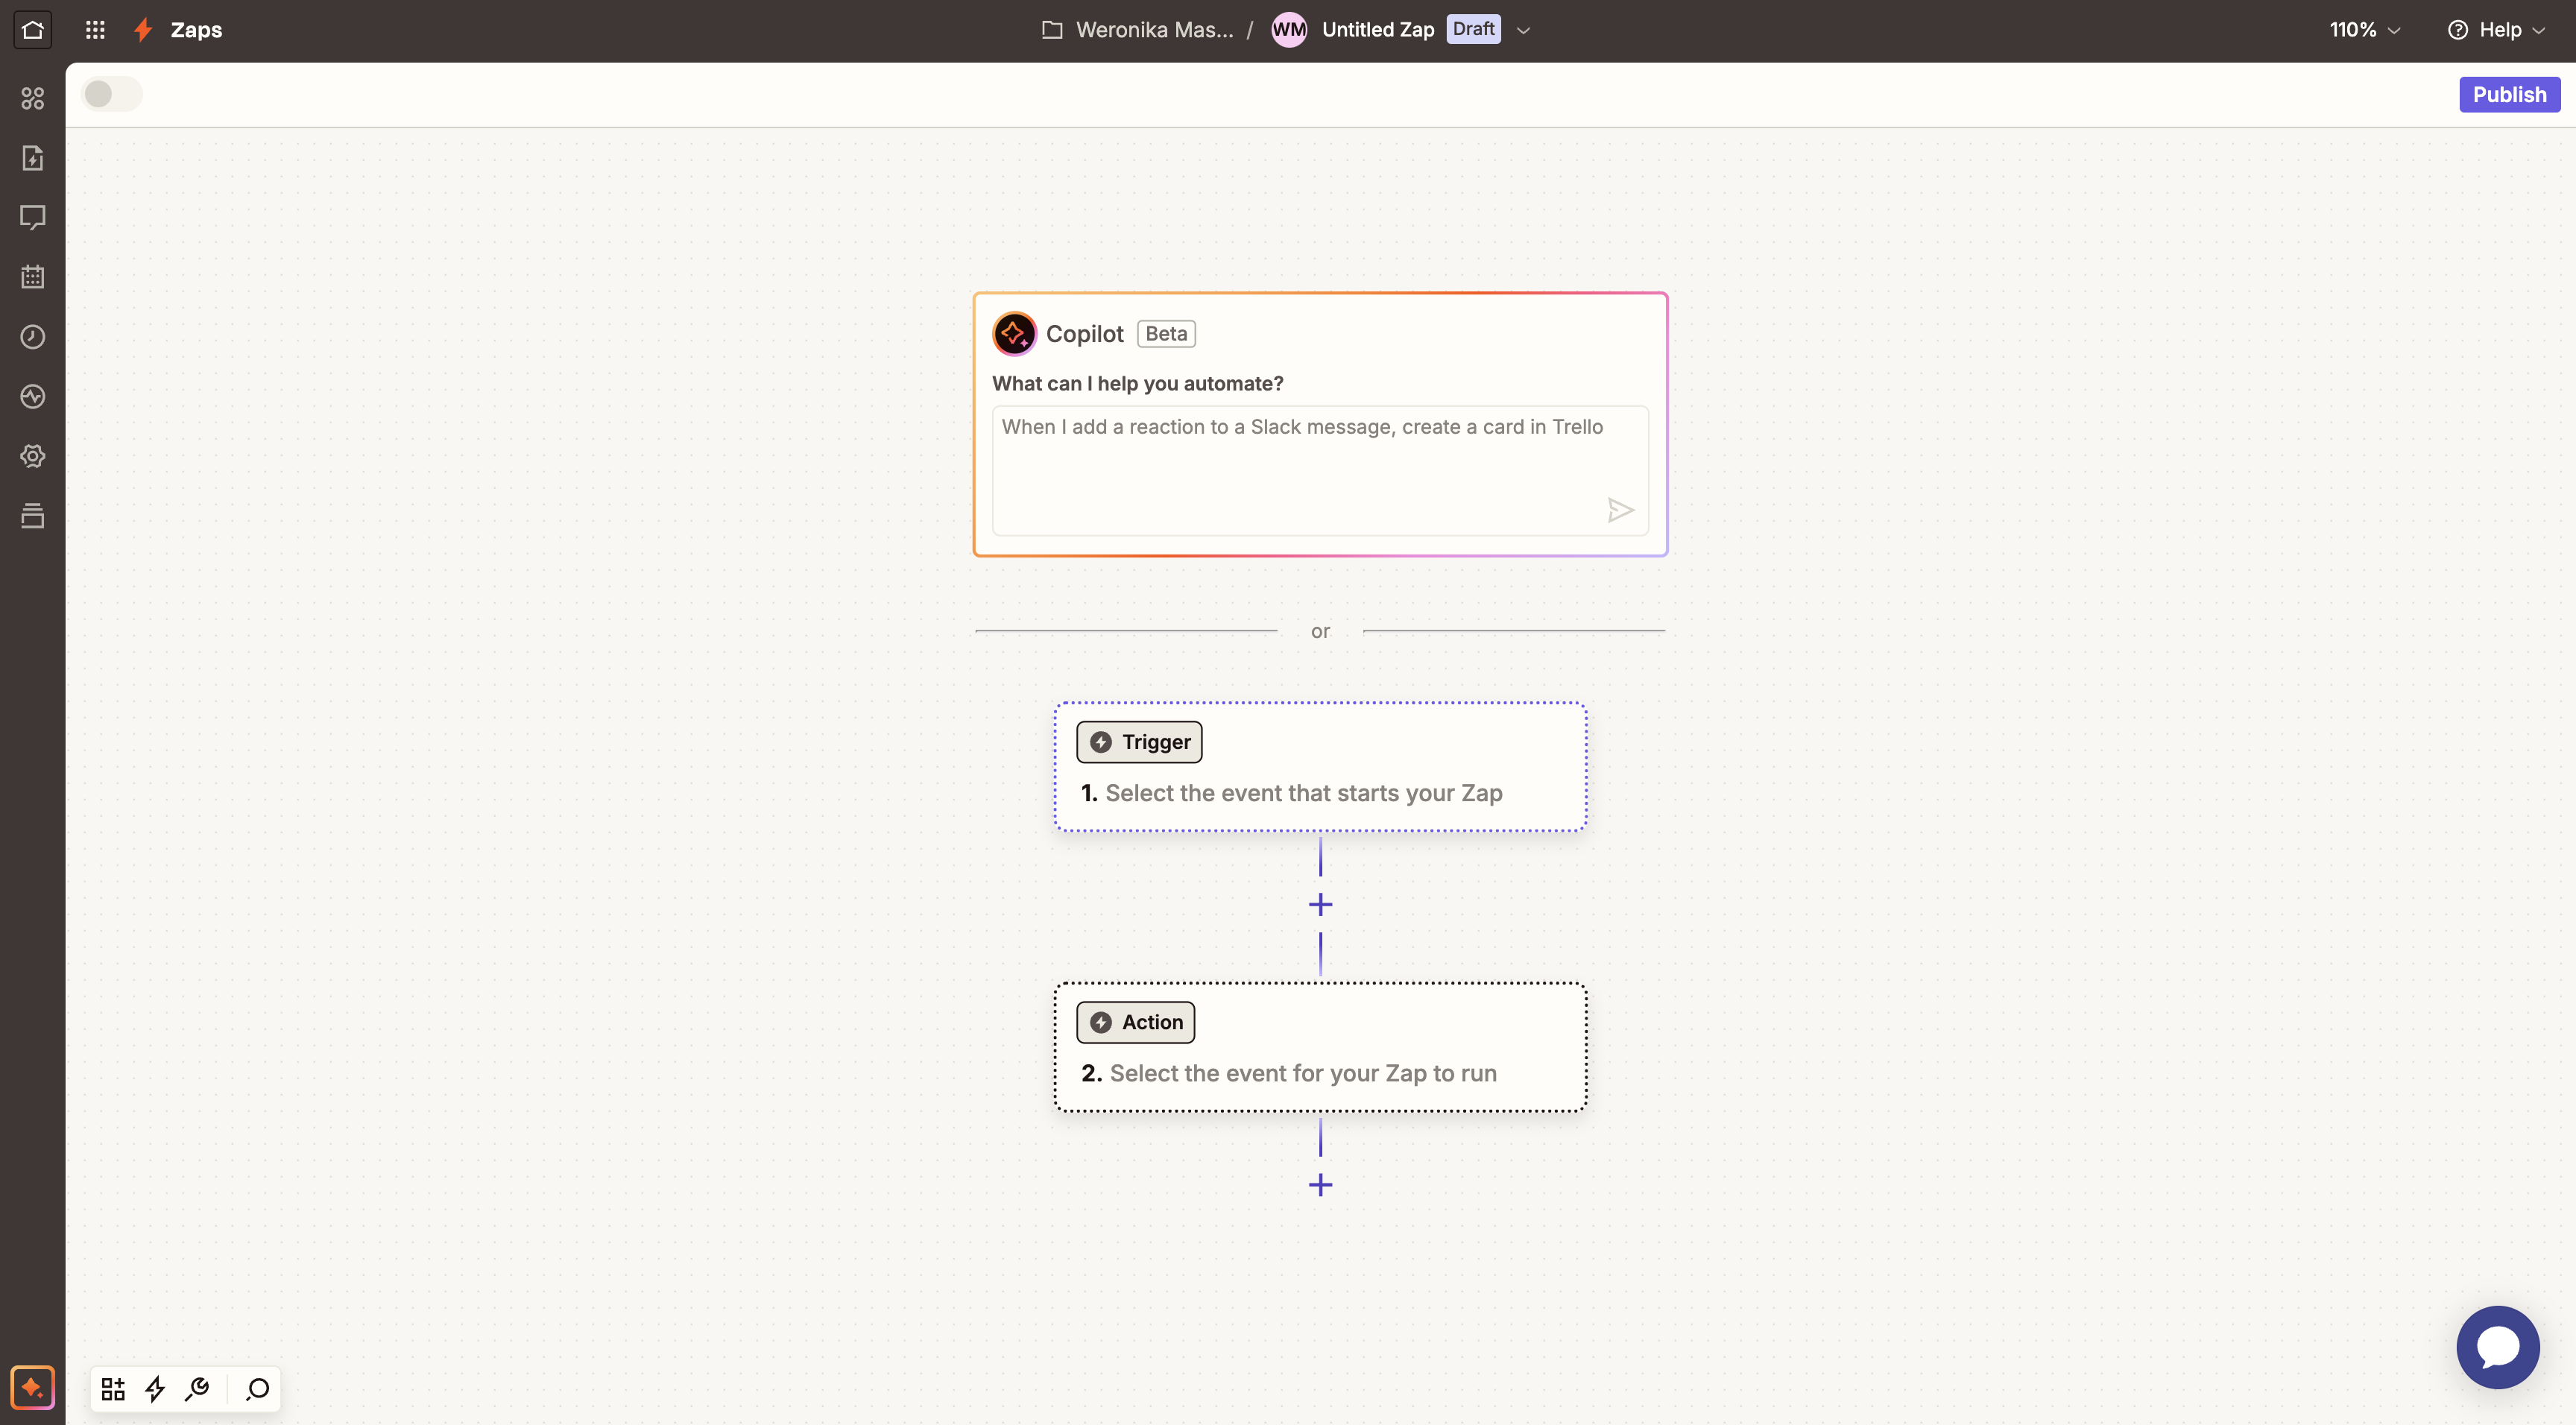
Select “Create” and then “Zaps” to create a new automation flow.

Creating a new Zap.
3. Set up the trigger (HelpDesk)
Next, select HelpDesk as the trigger app.
Selecting HelpDesk as a trigger in Zapier.
Then, select the trigger event (for example, “New Ticket”).
Next, connect your HelpDesk account to Zapier and select “Sign in.”
You’ll see your email address used to create your HelpDesk account in the corresponding field.
Finally, test the trigger to ensure Zapier can retrieve data from HelpDesk.
4. Set up the action (GitHub)
Select GitHub as the action app.
Then, select the action event (such as “Create Issue”).
Next, connect your GitHub account to Zapier and select “Sign in.”
Make sure to authorize Zapier to access your GitHub data to ensure your Zaps function correctly.
Configure the action details, such as:
- Repository: Select the target repository.
- Title: Map this to the HelpDesk ticket subject.
- Description: Include the HelpDesk ticket details (description, priority, and requester information, etc.).
5. Test your Zap
Test the Zap to ensure it works as expected. For example, create a test ticket in HelpDesk and verify that a corresponding issue is created in GitHub.
6. Turn on your Zap
Once testing is successful, turn on your Zap. The automation will now run in the background.
Example use cases
1. Bug reporting
When a customer submits a ticket reporting a bug, the Zap automatically creates an issue in GitHub, including the ticket details and relevant screenshots or attachments.
2. Feature requests
Support agents can tag tickets as “Feature Request,” triggering the Zap to create a GitHub issue in a specific repository for product enhancements.
3. Status updates
You can set up an additional Zap to update the HelpDesk ticket when the GitHub issue is closed, ensuring the support team stays informed.
Best practices
- Use tags and labels. Categorize tickets and issues for better tracking and prioritization.
- Customize descriptions. Include detailed ticket information in the GitHub issue to minimize back-and-forth communication.
- Test regularly. Periodically test your Zaps to ensure they are functioning correctly.
- Monitor usage. Check Zapier’s task history to ensure your automations aren’t exceeding usage limits.
Troubleshooting
If you encounter issues with the HelpDesk and GitHub integration:
- Check Zapier logs. Review the task history in Zapier for errors.
- Reauthenticate accounts. Ensure all connected accounts (HelpDesk, GitHub) are properly authenticated.
- Review permissions. Verify that your accounts have the necessary permissions for the selected actions.
- Contact support. If issues persist, chat with us.
For more details on HelpDesk’s capabilities, visit our integration page.
