 158 29
Integrating your Webflow contact form with the HelpDesk ticketing system lets you streamline customer inquiries directly into your HelpDesk queue. This setup ensures that every form submission on your Webflow site is automatically sent to your HelpDesk system as a new ticket.
Step 1: Configure your Webflow contact form
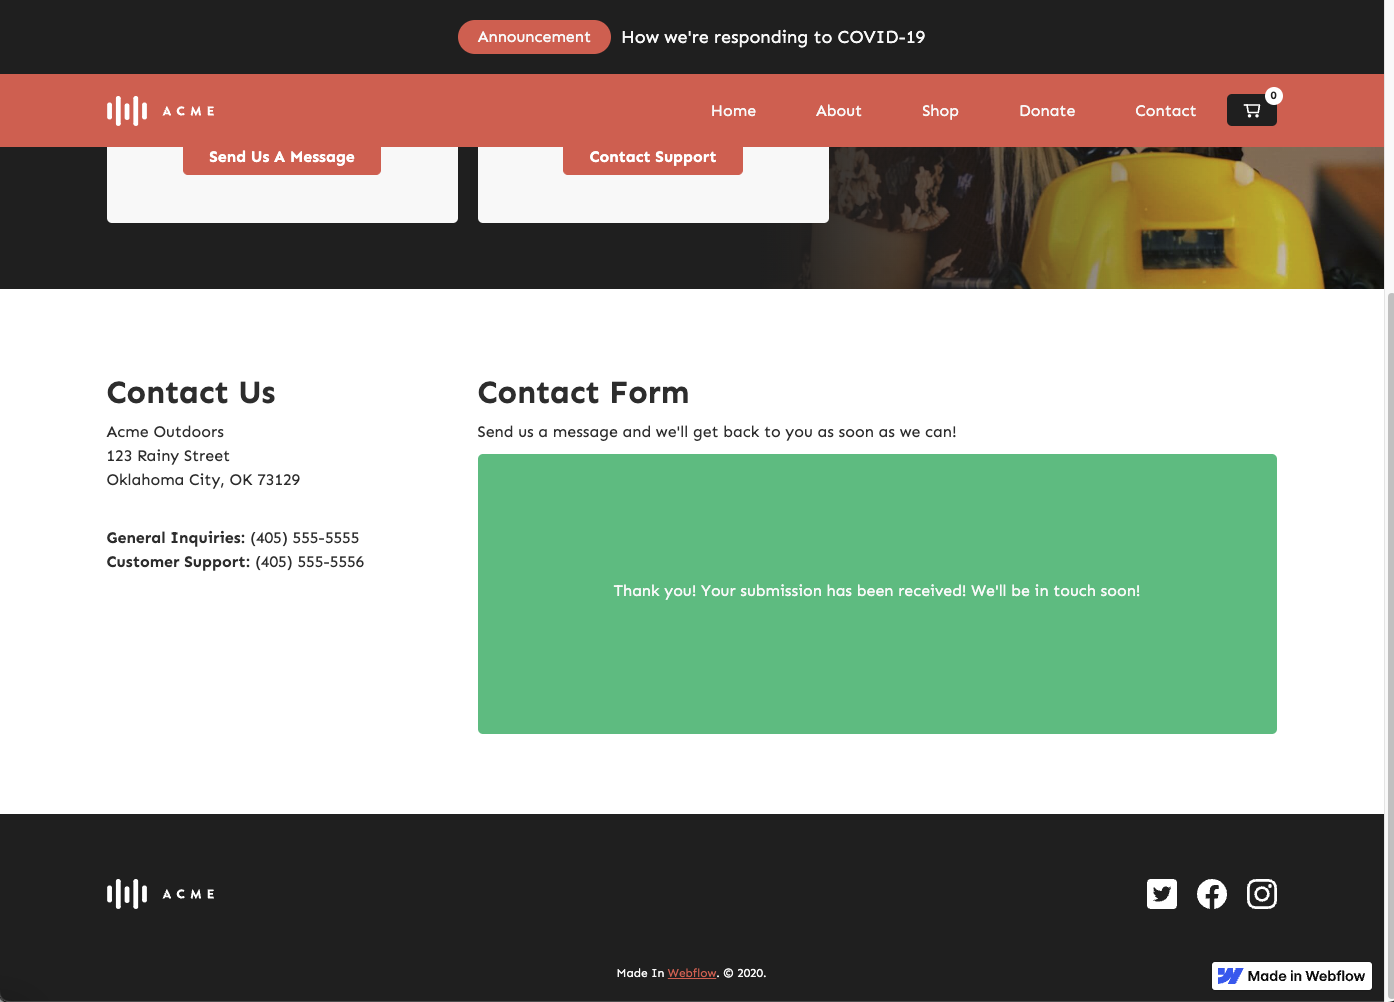
The contact form component added to the Webflow page is necessary for this integration to work. For more information, follow the instructions for setting up a contact form on the official Webflow website.
Step 2: Install the HelpDesk app for the Webflow account
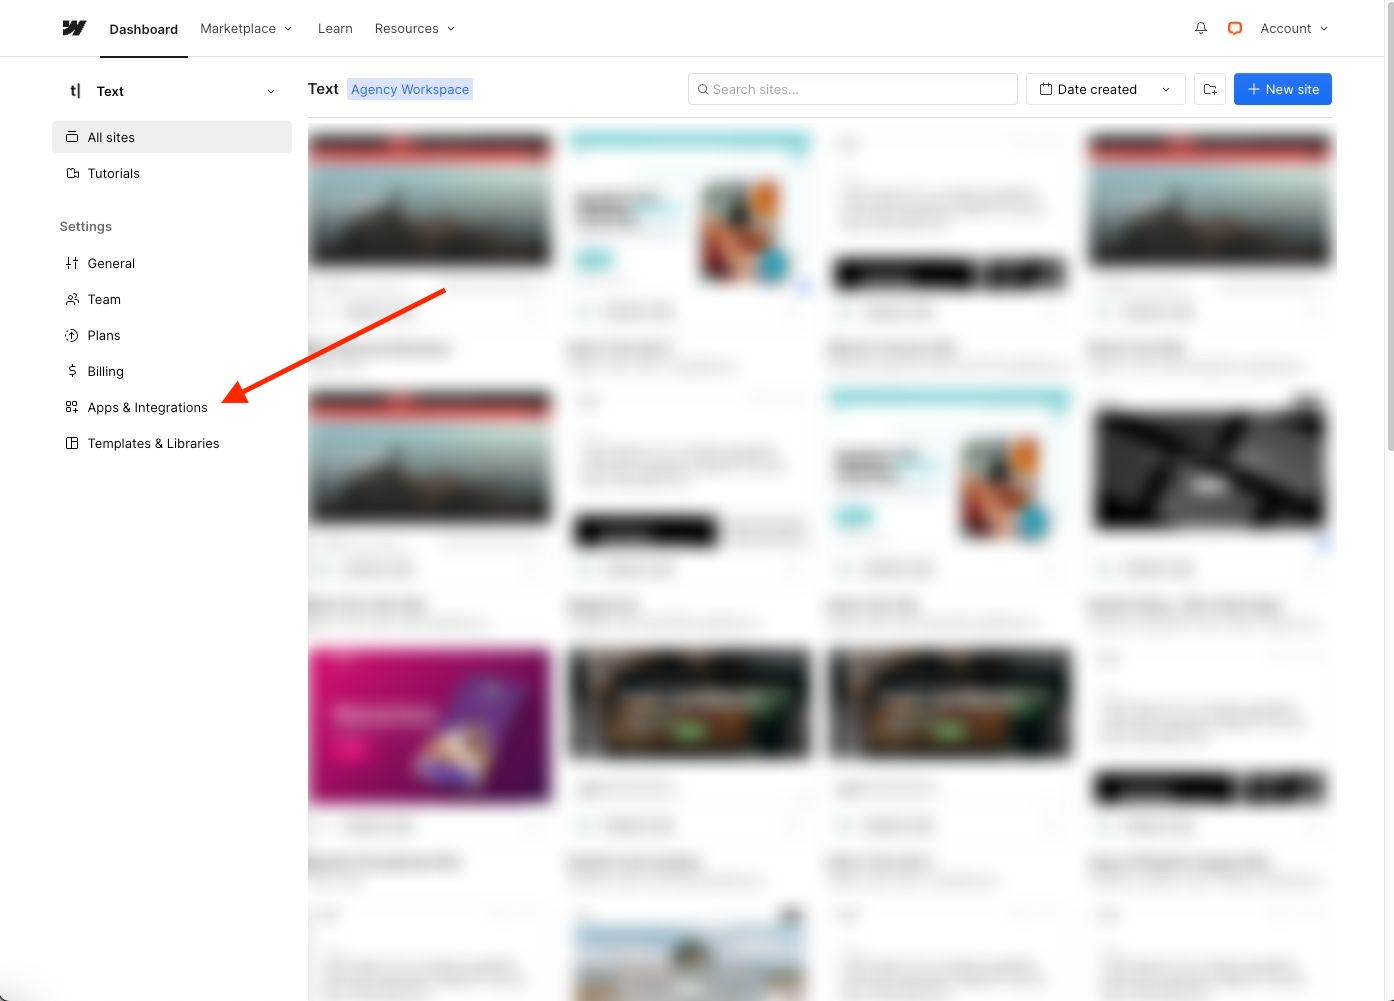
- Go to the Webflow dashboard with all sites and select “Apps & Integrations.”
Select “Find an App” and search for HelpDesk in the list of all possible applications and integrations.

Use the search bar to find HelpDesk.

After installing HelpDesk for your Webflow account, it’s time to go through the process of installing HelpDesk for the selected site.
Step 3: Install HelpDesk for the selected Webflow site
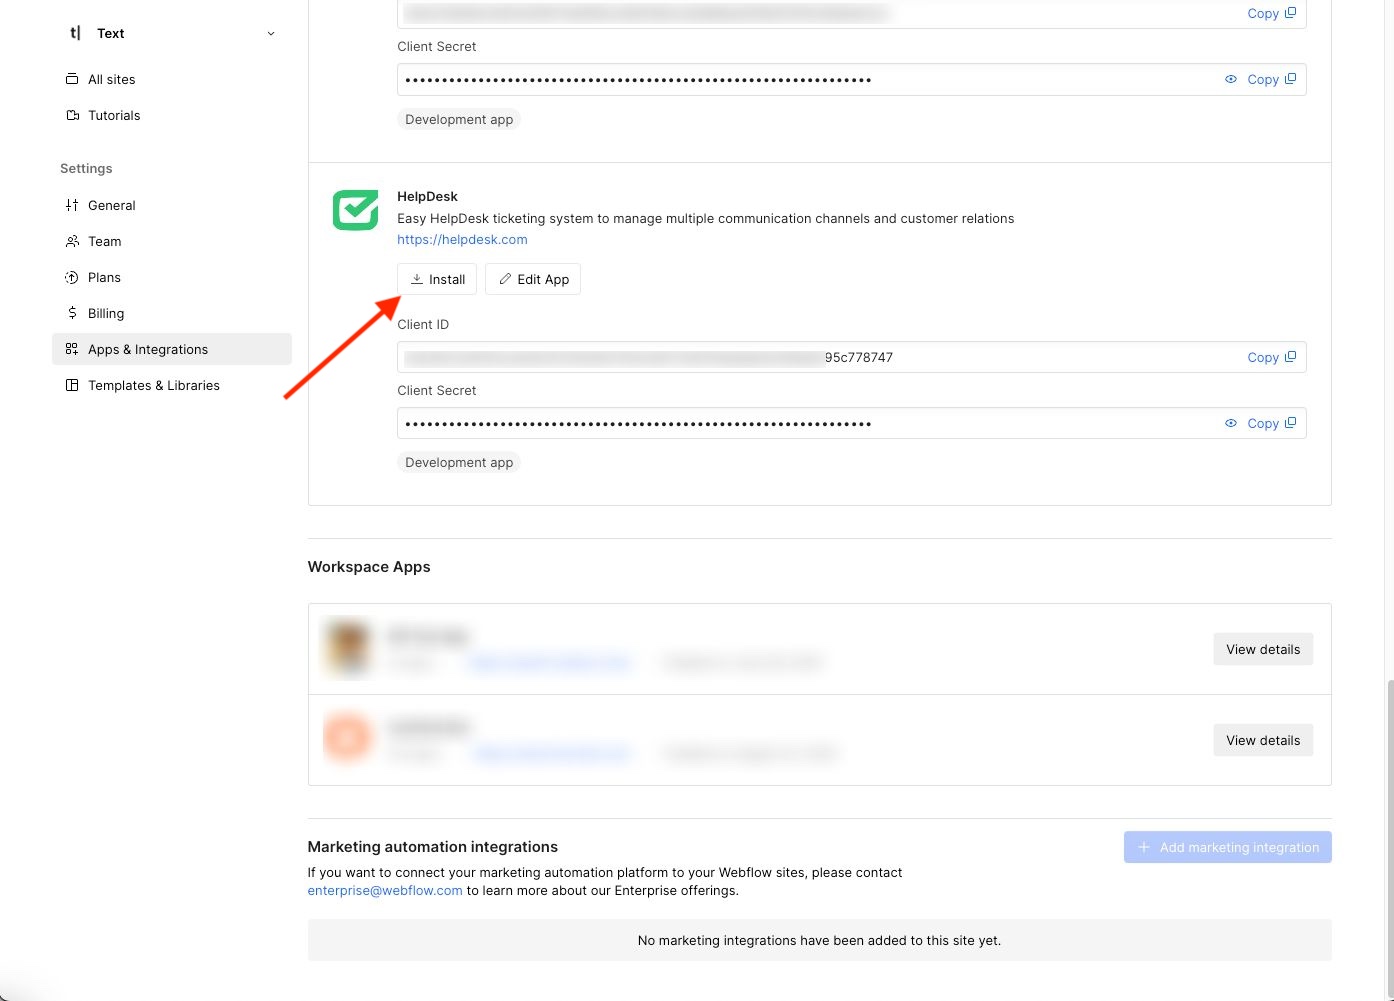
- Scroll down to HelpDesk in the “Apps & Integrations” list and click “Install.”
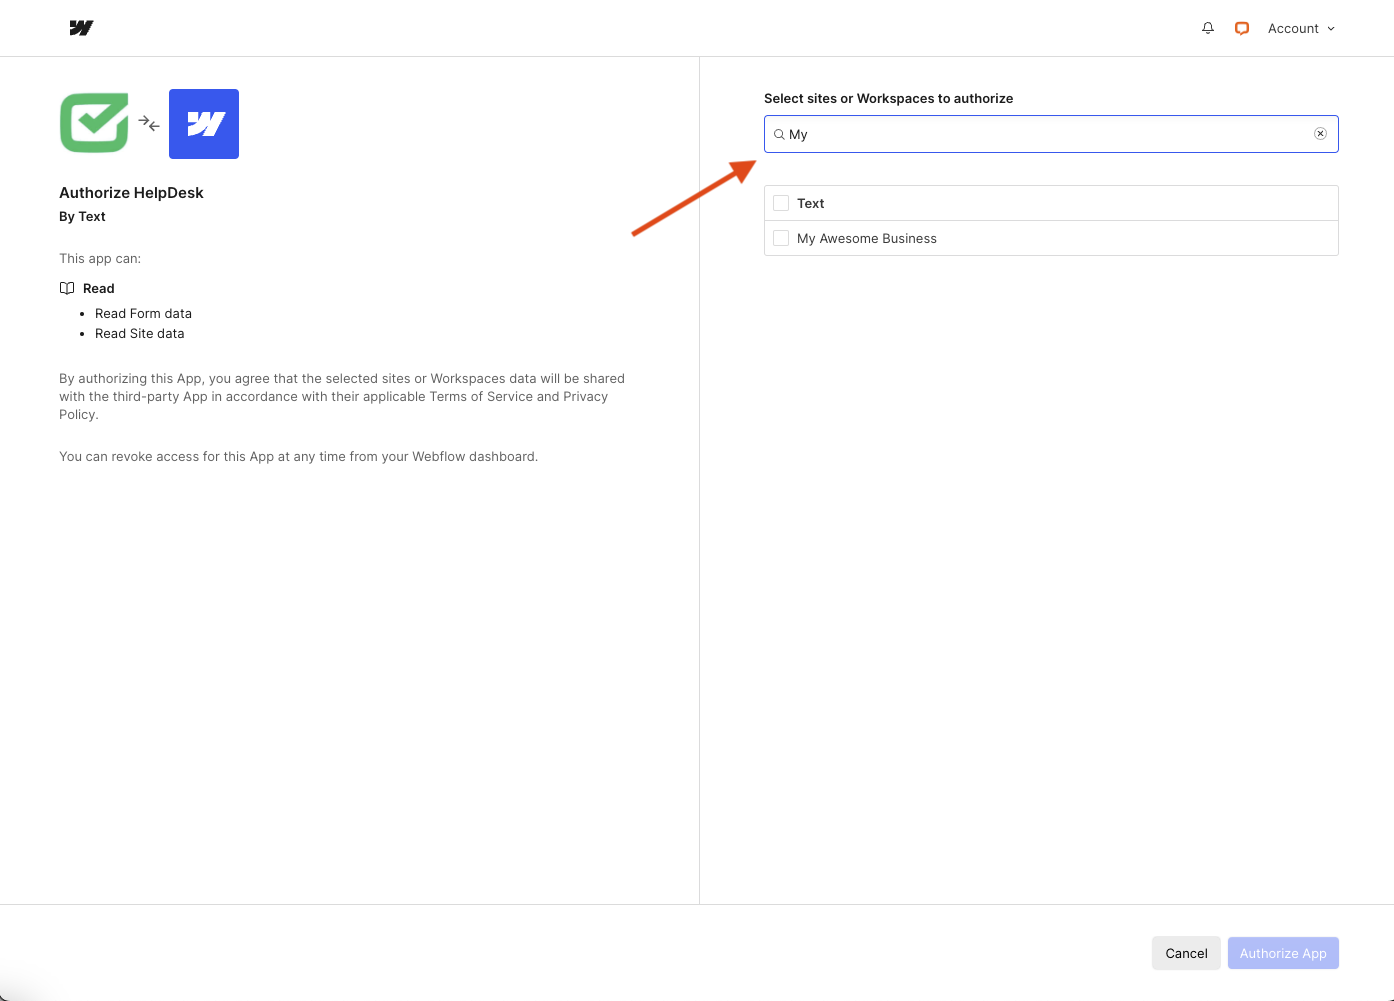
- Select the Webflow page whose contact form you want to integrate with HelpDesk using the search bar.
- Create a new HelpDesk account dedicated to the selected Webflow site. You can start with a free 14-day trial.

- Allow Webflow to access your HelpDesk account.

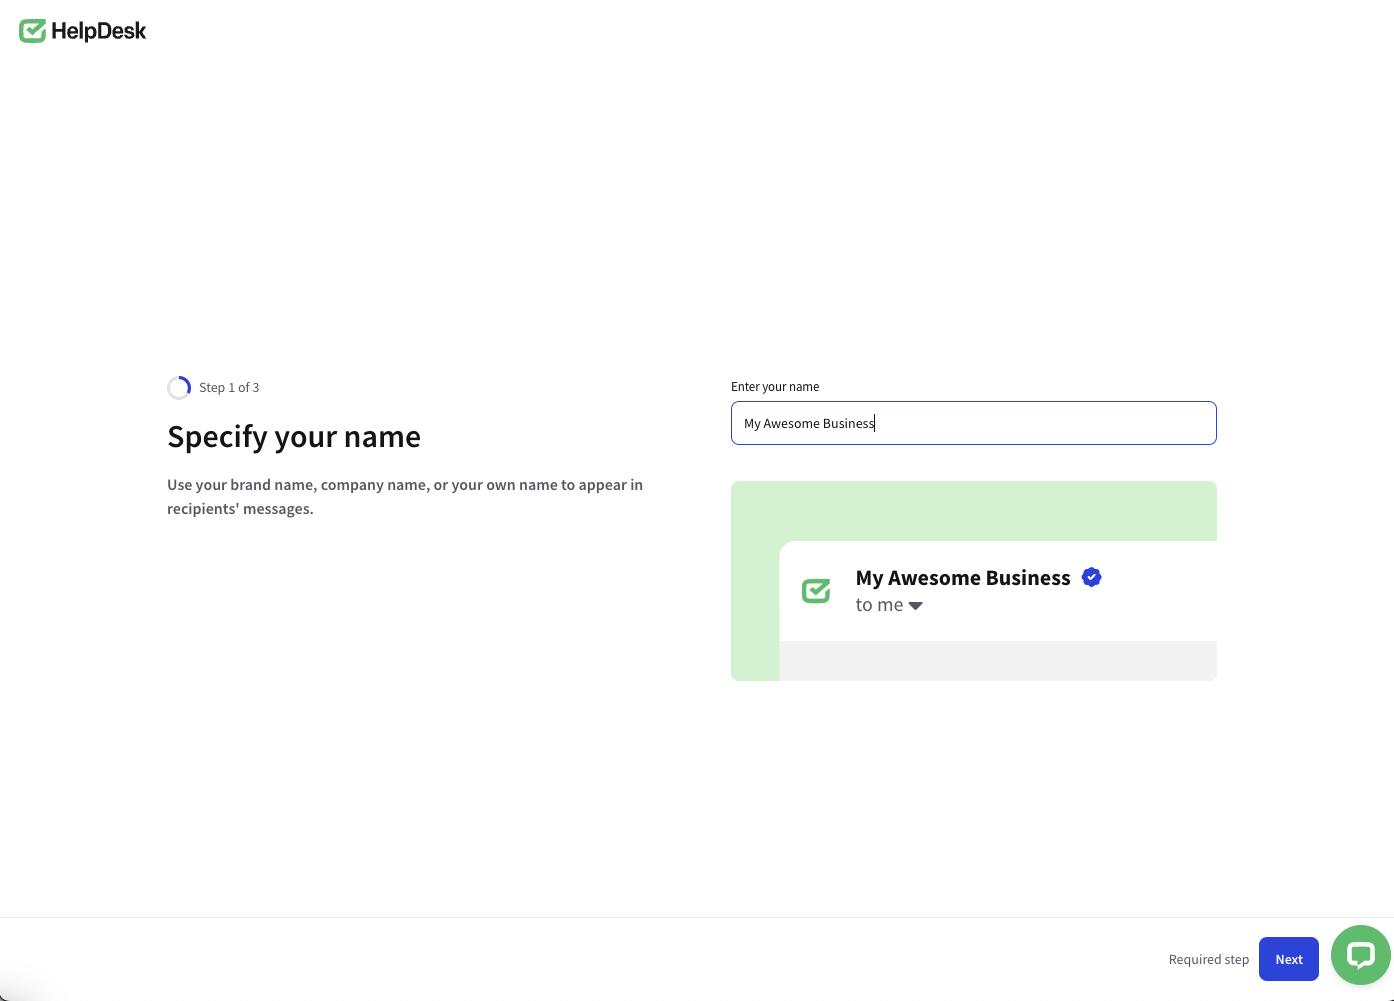
- Go through HelpDesk onboarding to customize your account and make good use of it.
Step 4: Test your HelpDesk and Webflow integration
- Submit a test entry.
Fill out the contact form on your Webflow site as a user would, and submit it.

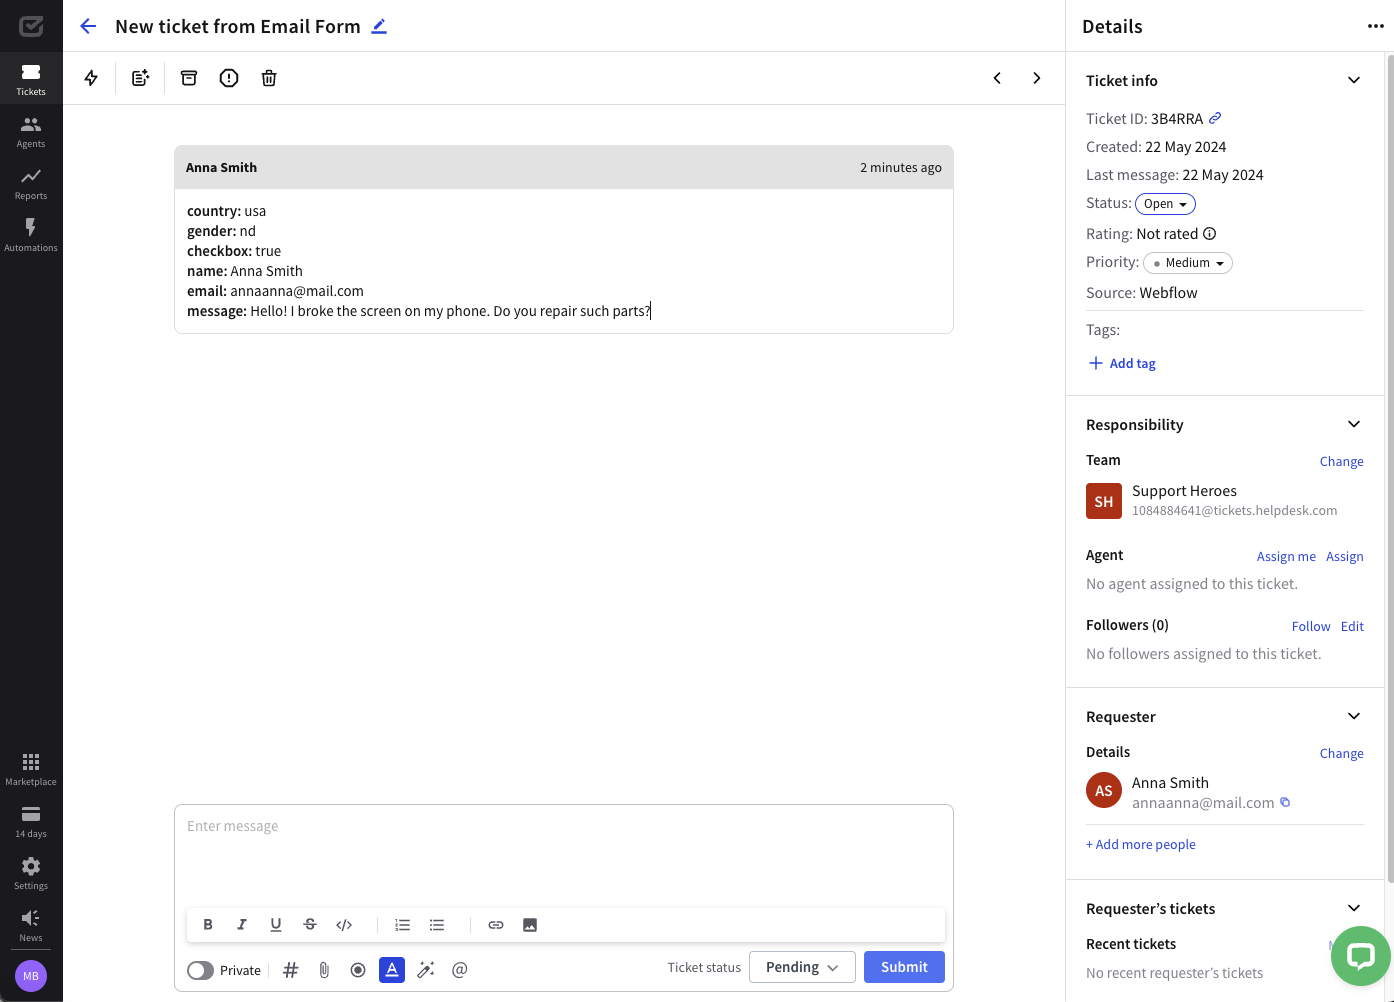
- Check your HelpDesk account.
Log in to your HelpDesk and check if the test entry appears as a new ticket. If not, review the forwarding settings to ensure everything is entered correctly.

Additional tips
- Ensure that the field names on your Webflow form are clearly defined so that the information is correctly sorted when tickets are created in HelpDesk.
- Verify that your domain’s SPF and DKIM settings include HelpDesk to improve email deliverability.
- Consider setting up additional automations in HelpDesk to tag and sort incoming tickets from Webflow. This can help manage responses effectively.
Following these steps, you can direct all queries from your Webflow contact form into your HelpDesk ticketing system, improving your response times and customer service management.
