Keyboard shortcuts allow you to navigate the dashboard and perform actions in your application more quickly. These are built into HelpDesk, so you don’t have to do anything but use them.
Accessing the keyboard shortcuts list
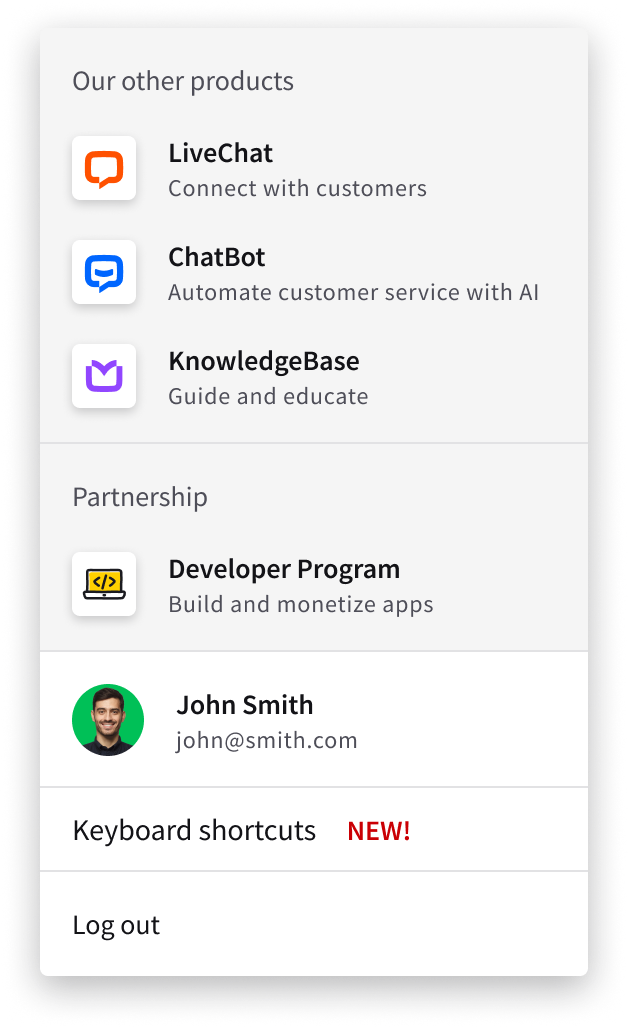
To access the list of keyboard shortcuts, go to your profile settings in the sidebar menu.
There you’ll see a new section called “Keyboard shortcuts.” Click it to see the details.

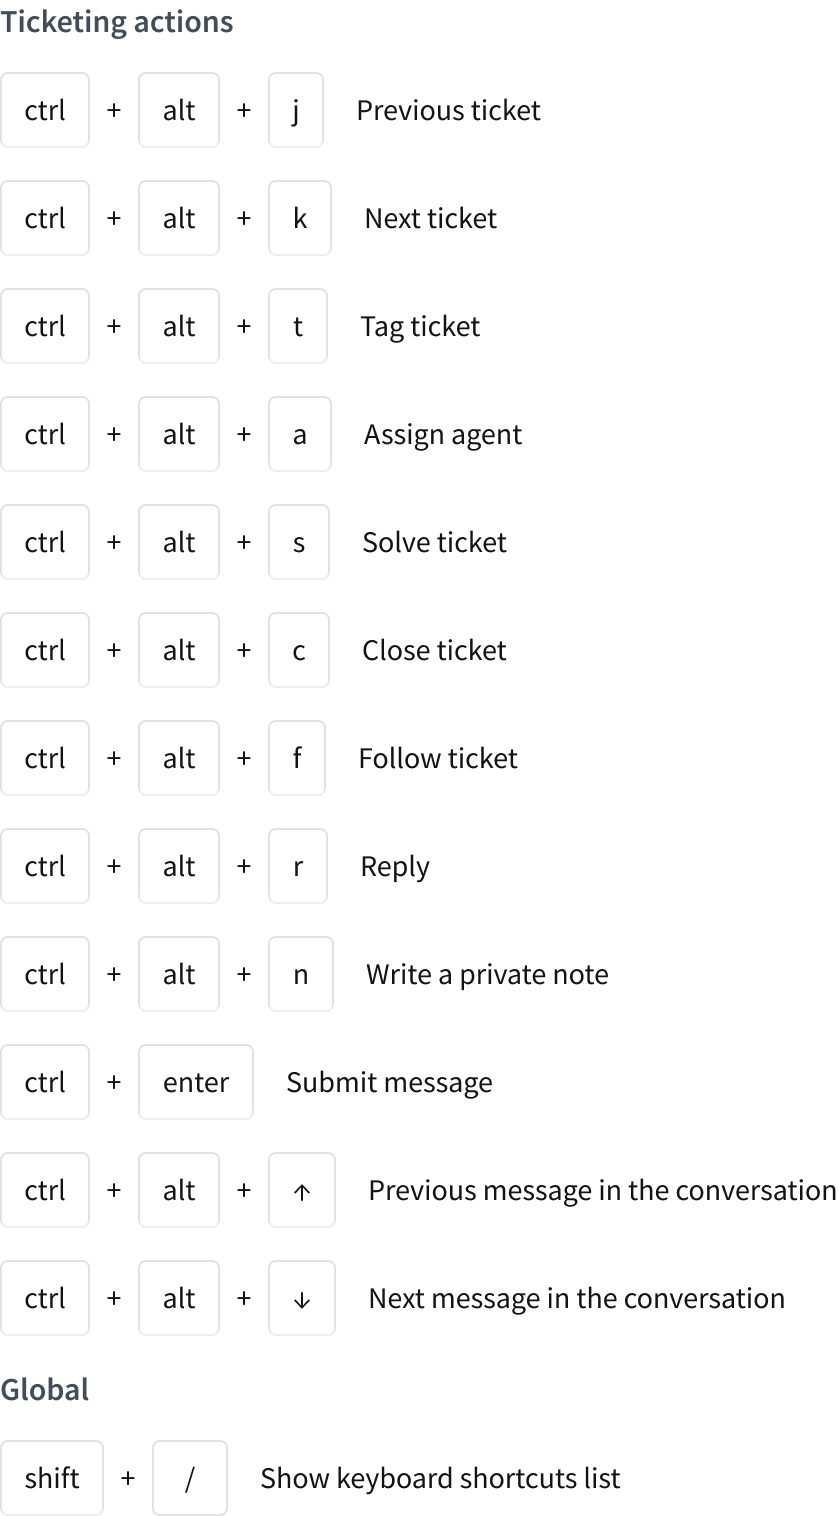
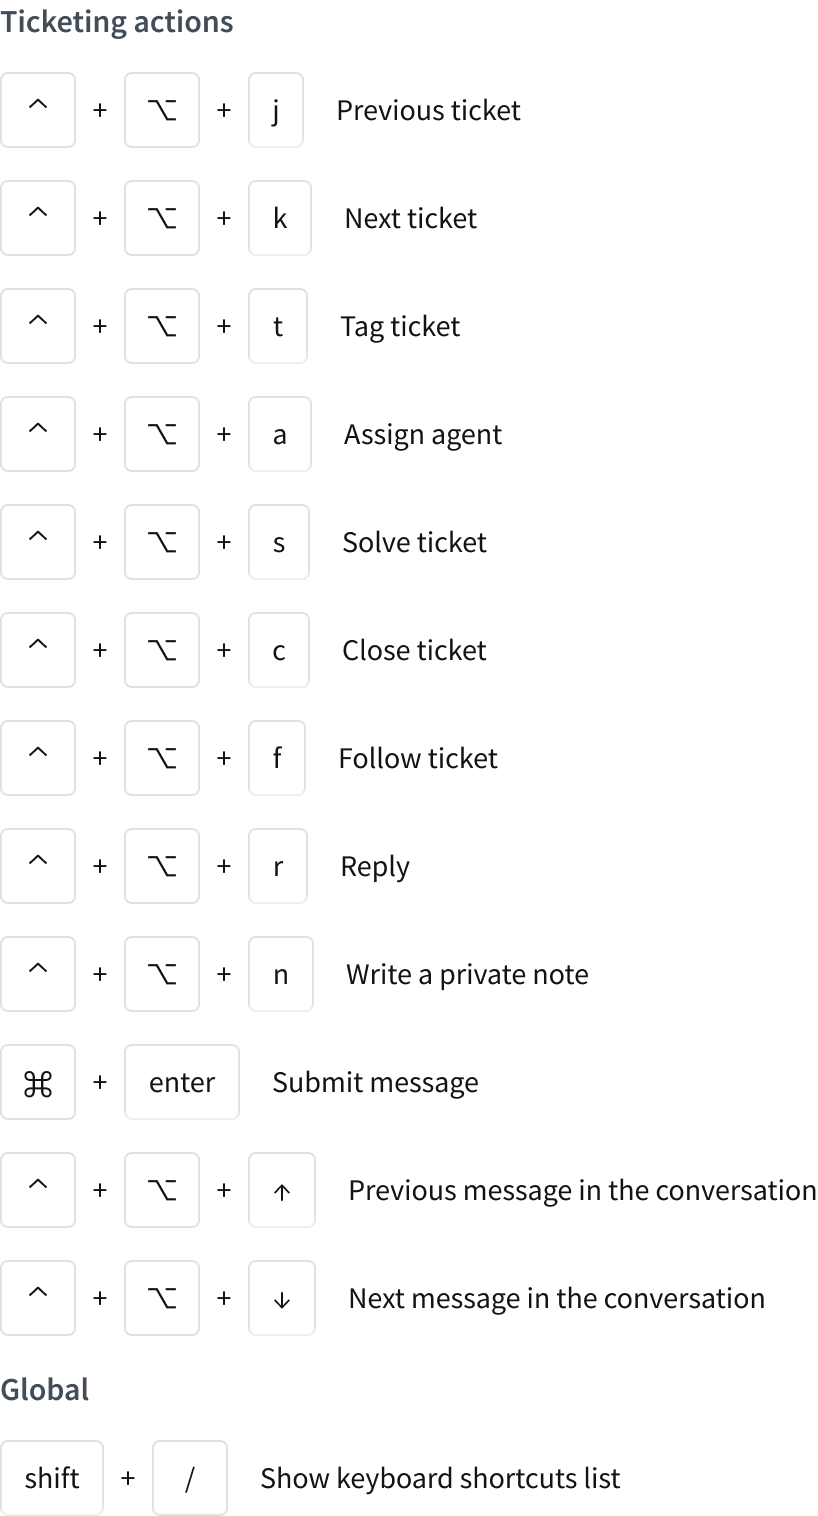
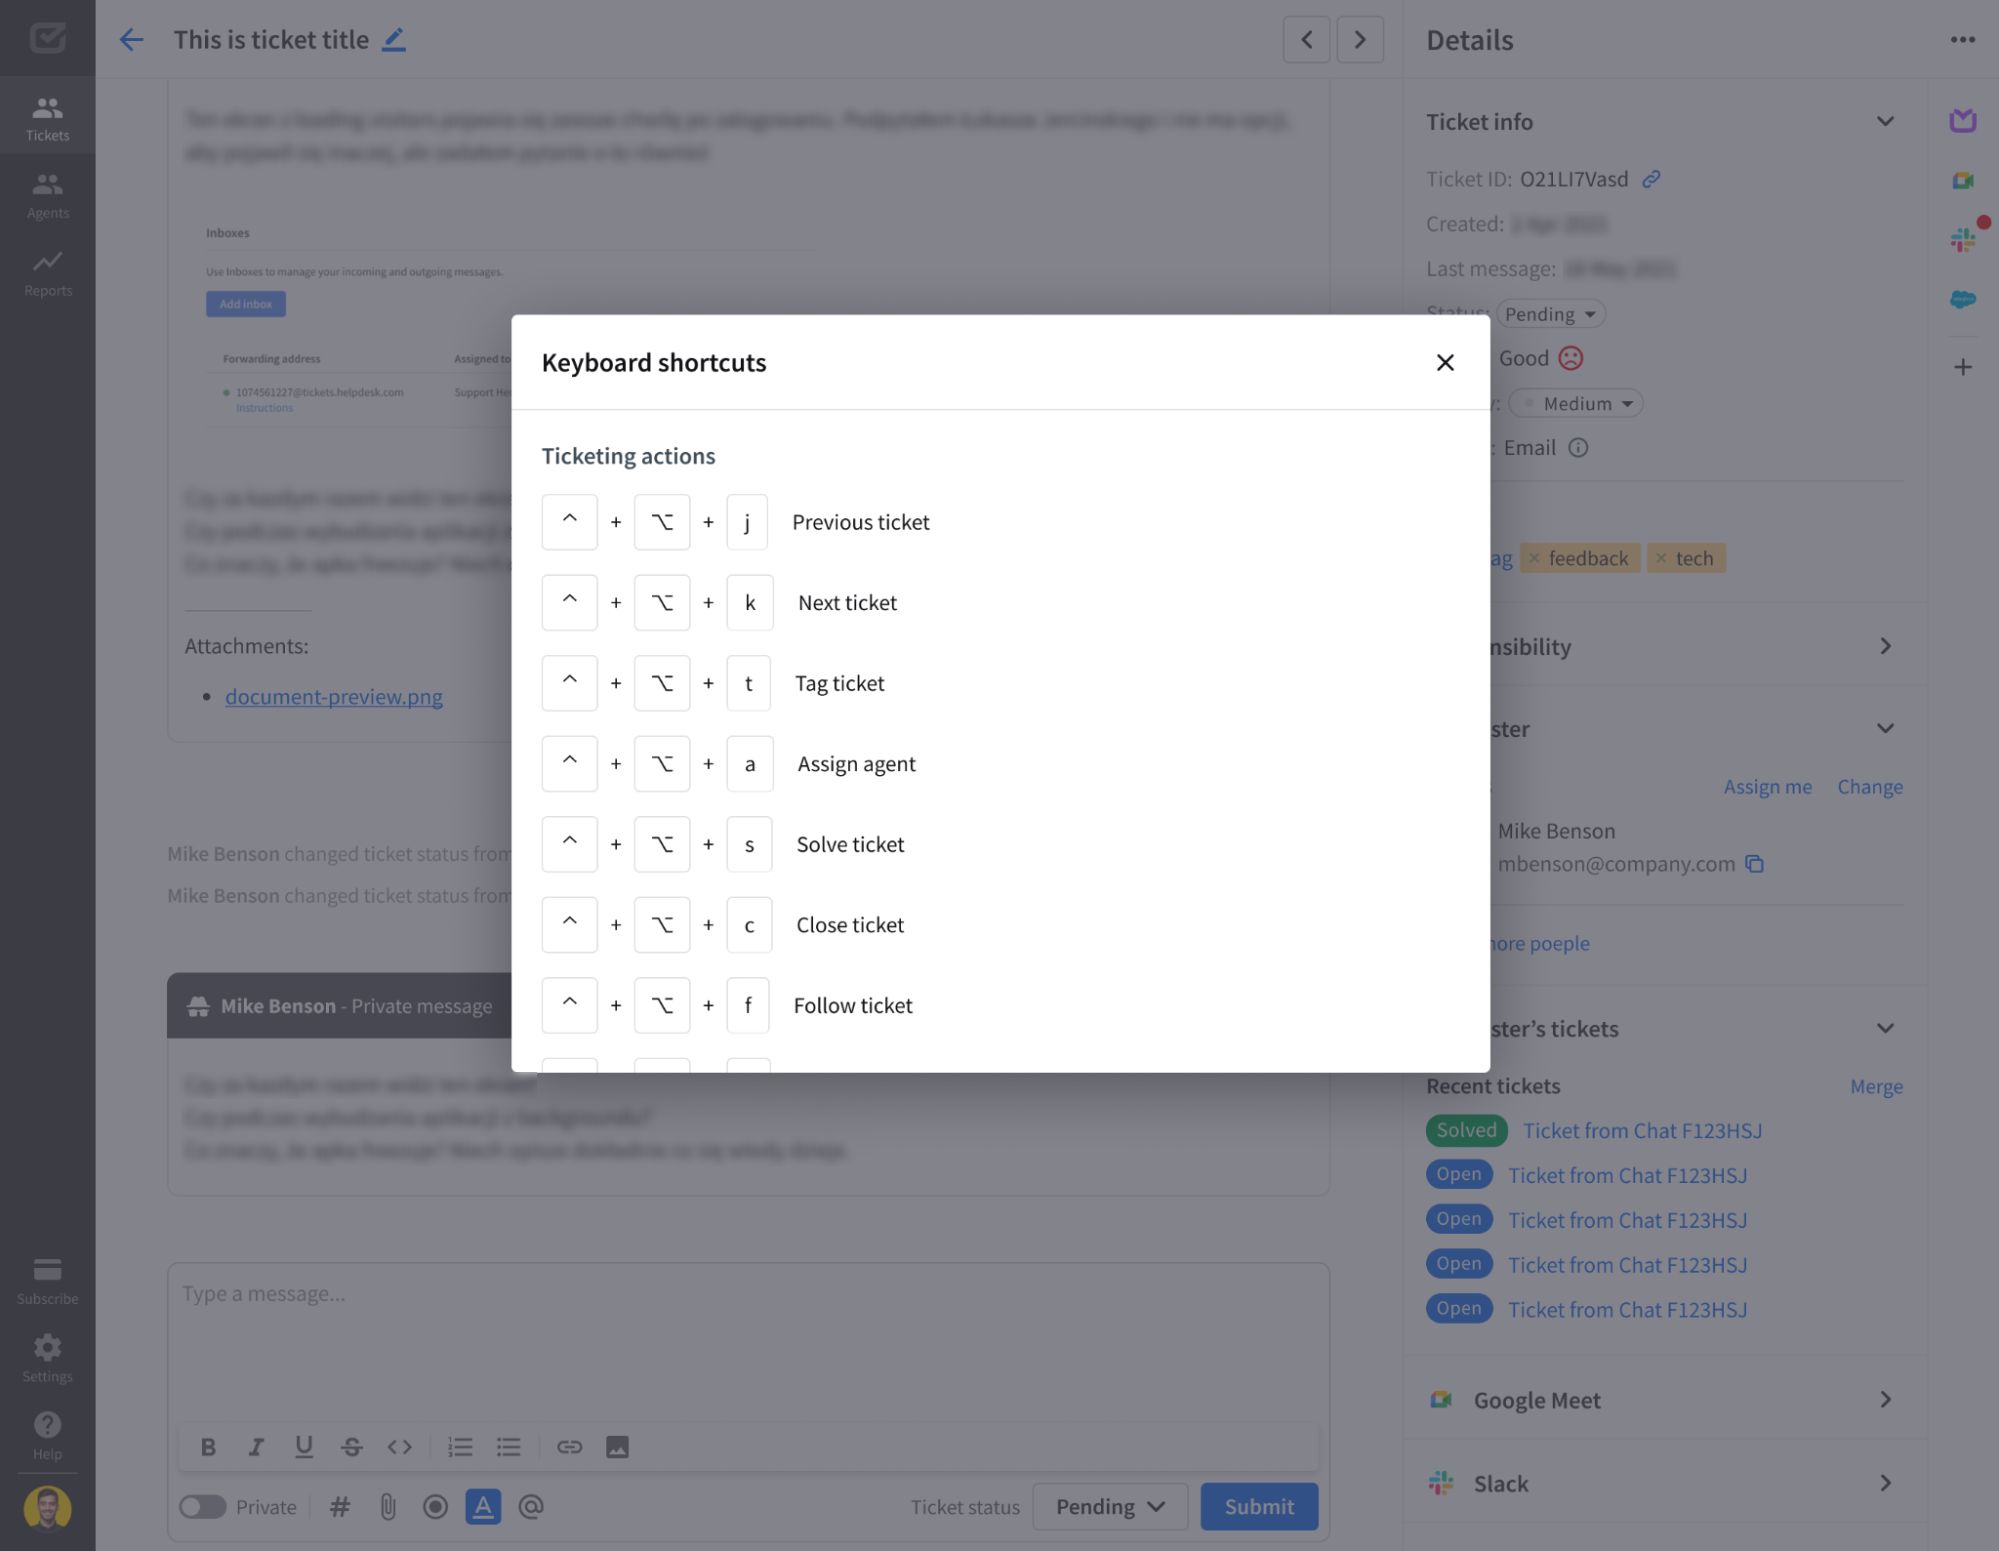
Depending on whether you’re using a Windows or MacOS operating system, you’ll then see a complete list of keyboard shortcuts you can use to navigate the ticketing system and interact with customers daily in tickets.
Windows keyboard shortcuts
- Ctrl + alt + j – Previous ticket
- Ctrl + alt + k – Next ticket
- Ctrl + alt + t – Tag ticket
- Ctrl + alt + a – Assign agent
- Ctrl + alt + s – Solve ticket
- Ctrl + alt + c – Close ticket
- Ctrl + alt + f – Follow ticket
- Ctrl + alt + r – Reply
- Ctrl + alt + n – Write a private note
- Ctrl + enter – Submit message
- Ctrl + alt + ↑ – Previous message in the conversation
- Ctrl + alt + ↓ – Next message in the conversation
- Shift + / – Show keyboard shortcuts list

MacOS keyboard shortcuts
- ⌃ + ⌥ + j – Previous ticket
- ⌃ + ⌥ + k – Next ticket
- ⌃ + ⌥ + t – Tag ticket
- ⌃ + ⌥ + a – Assign agent
- ⌃ + ⌥ + s – Solve ticket
- ⌃ + ⌥ + c – Close ticket
- ⌃ + ⌥ + f – Follow ticket
- ⌃ + ⌥ + r – Reply
- ⌃ + ⌥ + n – Write a private note
- ⌘ + enter – Submit message
- ⌃ + ⌥ + ↑ – Previous message in the conversation
- ⌃ + ⌥ + ↓ – Next message in the conversation
- Shift + / – Show keyboard shortcuts list

You can open keyboard shortcuts whenever you want, especially when handling tickets.

