Tags and filters are useful tools for finding specific groups of tickets. In HelpDesk, you can create your own sets of filters, and save them as “Ticket views.” Then, you’ll be able to access them quickly in the left ticket navigation bar.
How to create a custom view
Choose the filters in the general ticket view.
You can choose from the following parameters: Agent, Assignment, Attachments, Creation date, Followers, Last activity, Last message, Priority, Rating, Source, Status, Tag, and Team.
Then, click on the “Create view.”
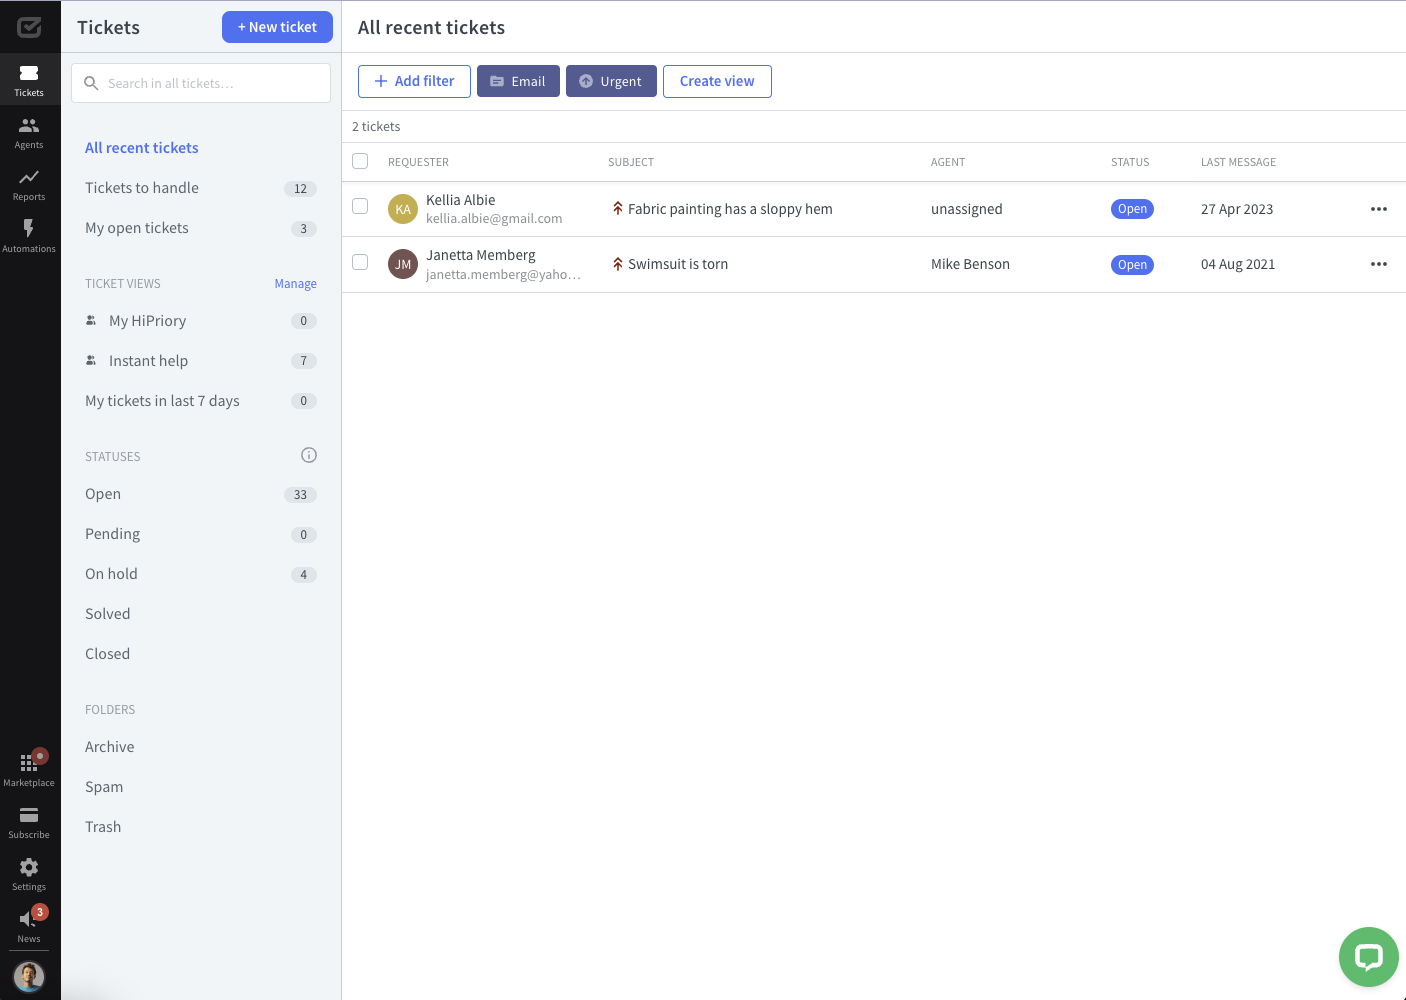
Enter the view name, and click on “Create.”
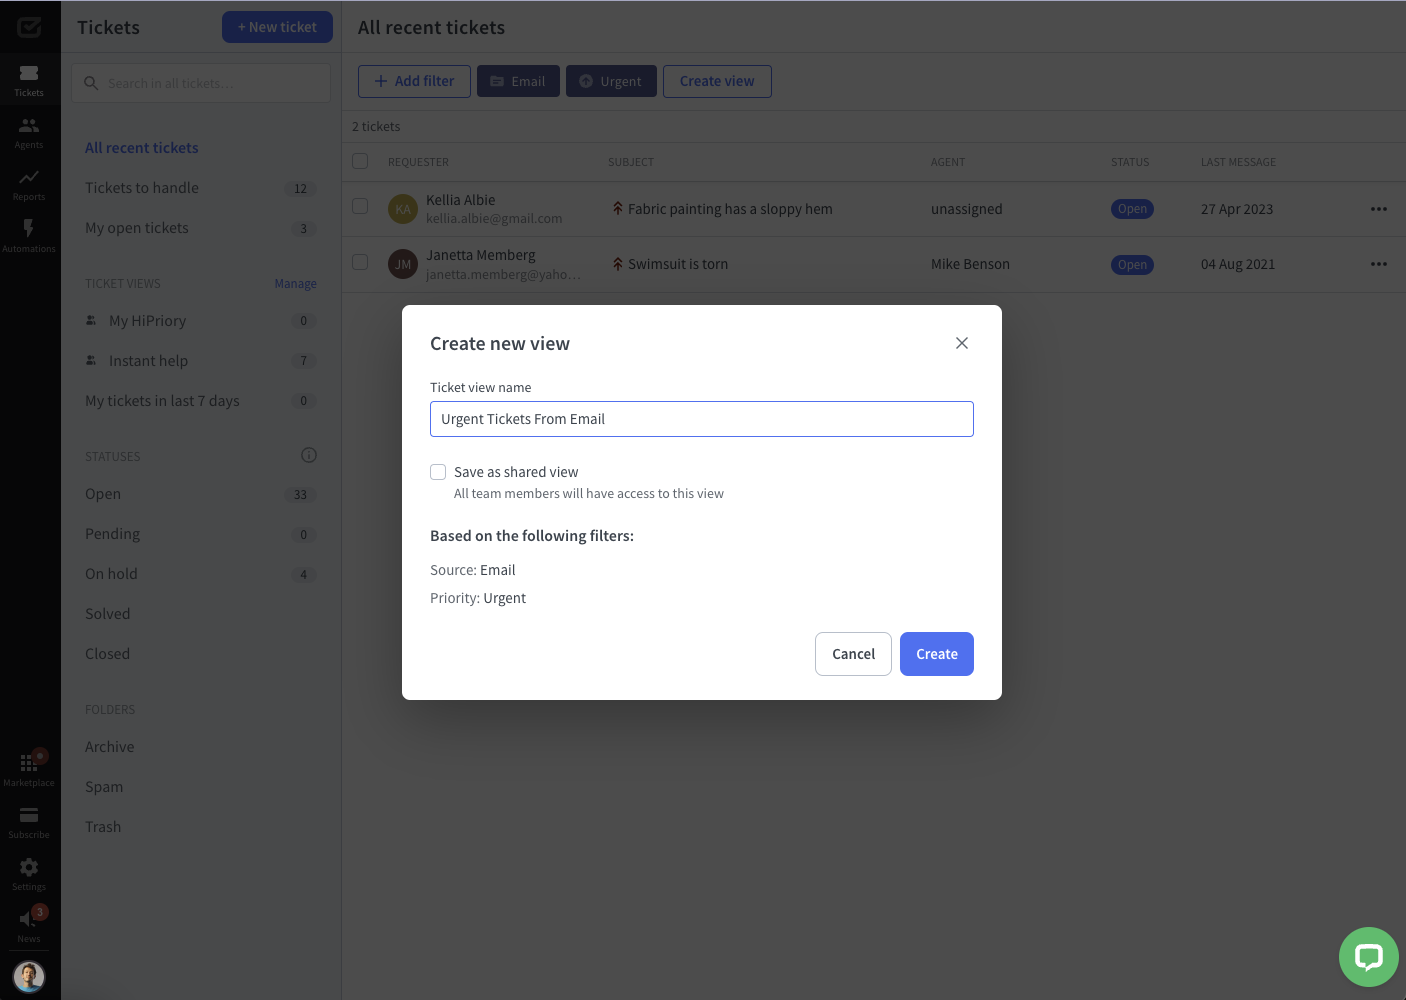
You’ll see your custom view in the ticket navigation bar on the left.

How to manage views
Click “Manage” next to “Ticket views” in the ticket navigation bar. This action takes you to the “Settings” section.

In this section, you can see all your views, the filter they are based on, and their creation date. You can also edit or delete your views.


How to change the set of filters for an existing view
To modify the filters used for a particular view, follow these steps:
- Go to the ticket dashboard.
- Open the view (click its name in the left navigation bar).
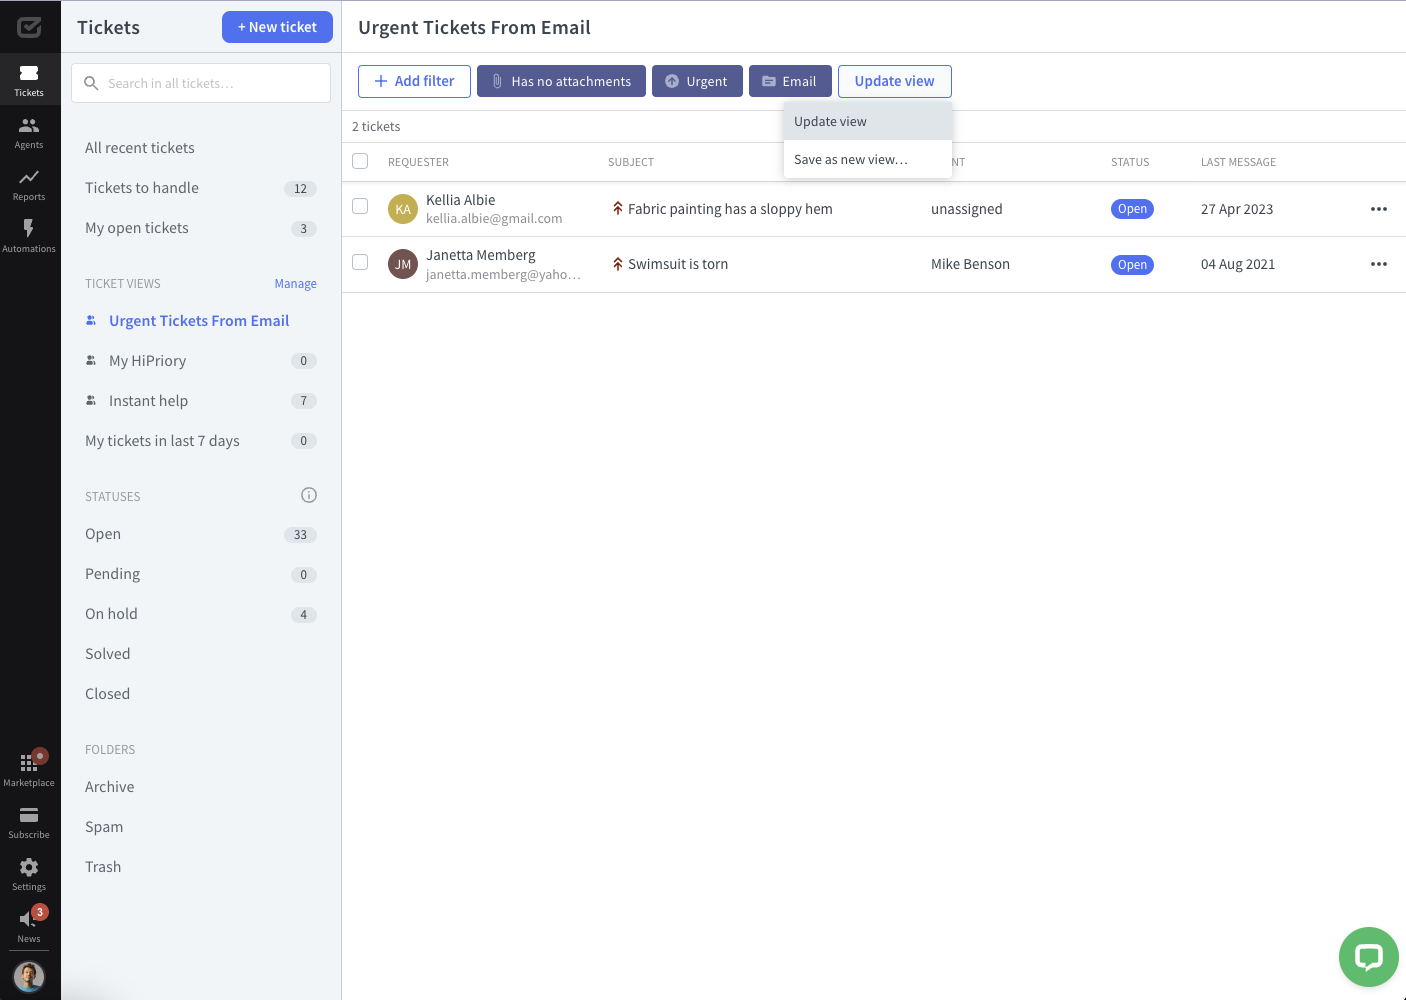
- Modify the filters using a dropdown menu above the ticket.
- Click on “Update view.” The changes will be automatically applied.
How to share my view
Some views are essential for the whole team to achieve their goals. In the process of creating a view, the admin can decide whether to share it or not.
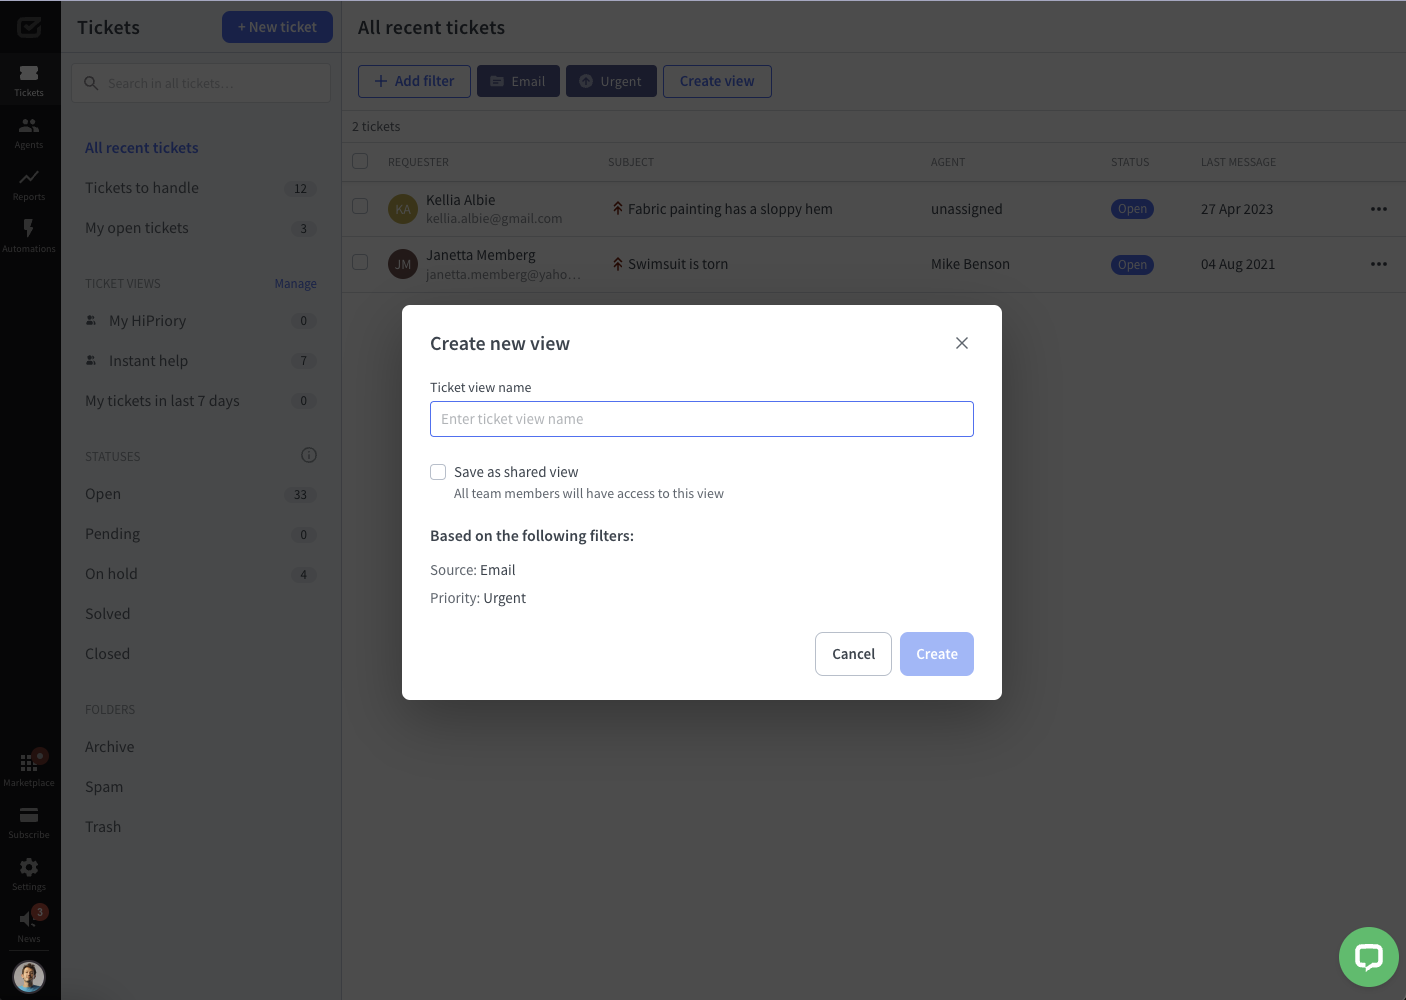
To share the view during the view creation process, click the “Save as shared view” option.

You can also share the view during editing in the “Settings” section. Go to the “Settings” section, choose the “Ticket views” category, and click on “Edit” in the selected view.

To check the shared views, go to Settings and choose the “Ticket views” category. You will see a list of your custom views and shared views.

Why is there a warning next to my view’s name?
When you see an exclamation mark next to the view’s name, it means that a tag used to create it has been removed.
It looks like this:
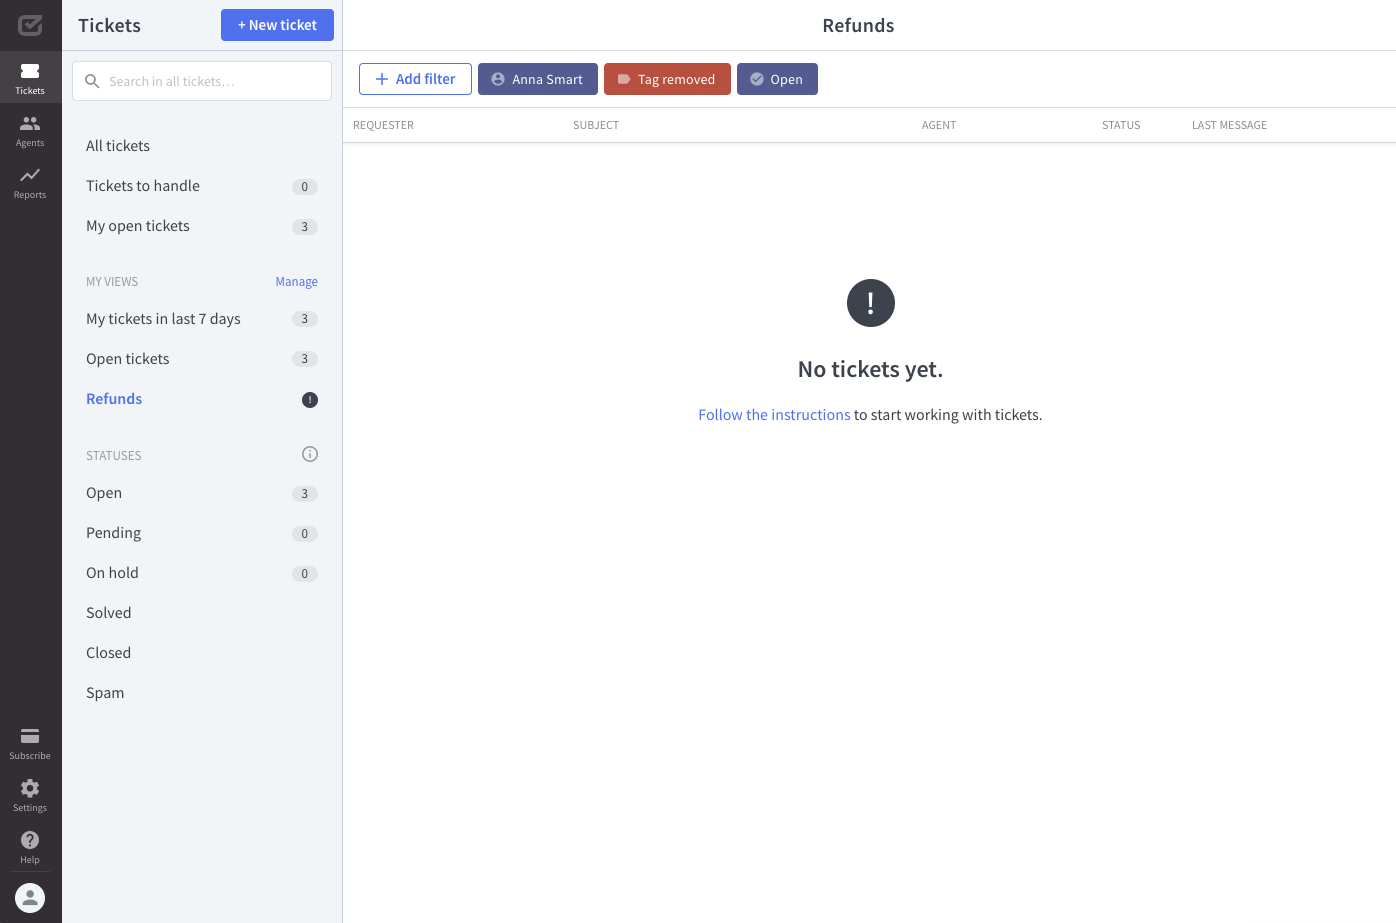
To fix this issue, remove this tag or change the set of filters, click on the “Update view.”
